Happy Friday! For those coming over from Part 1, hopefully you’ve had an opportunity to explore the React and React Native projects in the project repo and get things running locally. Once you’ve done so, it’s time to dive into the details of React and React Native.
For those with a very minimal background in Javascript, especially in the context of Node, it is common to feel lost initially. React apps, especially those generated via create-react-app have some very nice convenience scripts that are abstracting away some of the burdens of development. You can find more details about the react-scripts library in Session 0 materials (this is being re-built for the Code Wolfpack site, and this will be updated with a link when complete).
React vs React Native
React is somewhat overloaded as a term, as React itself through many iterations has moved much of the DOM-specific functionality into a separate package, react-dom. That being said, there is still a lot to React that finds itself tied into the DOM-related functionality, which is revealed in the @types/react supplementary library for TypeScript. As a consequence to this, you cannot simply interrogate package dependencies in a React library for the presence of react-dom to determine if the library can be used in React Native, and oftentimes your best bet when developing React Native applications is to approach the two libraries as separate entities with very similar semantics. More simply put: React for web, React Native for mobile.
If you want a curated directory of React Native libraries, check out https://reactnative.directory/
React
React takes flight the moment the render loop is started. You can see this in index.tsx:
ReactDOM.render(
    <Provider store={store}>
        <ConnectedRouter history={history}>
            <App />
        </ConnectedRouter>
    </Provider>,
    document.getElementById('root'));
JSX and TSX files allow us to substitute calls to React.createElement, otherwise this would look like:
ReactDOM.render(
    React.createElement(
        Provider,
        {store},
        React.createElement(
            ConnectedRouter,
            {history},
            React.createElement(App, null, null)
        )
    ),
    document.getElementById('root'));
It doesn’t take much of a leap to understand why the former is preferable. The PascalCased tags are Components (and in JSX, so too are the lower-cased DOM elements!). Components are classes which inherit from React.Component or one of its variant subtypes. Components exist to encapsulate logic in discrete, composable elements, by standardizing and exposing hooks to its own lifecycle, providing state management, and enforcing a pattern that drives data down into the render phase, and pipes actions up to where they are needed. This drastically simplifies data binding in web applications, as other libraries which allow two way binding have a bad tendency to be a source of bugs due to responding to unexpected state changes (e.g. “Somewhere down the chain of components the data was updated and now this component is sending events because I had a listener on it”).
Components are passed attributes like normal tags:
<ExampleComponent propA={2} propB={true} propC={nameOfFunction}/>and in the ExampleComponent class, they can be accessed via props:
class ExampleComponent extends React.Component {
    render() {
        { propA, propB, nameOfFunction } = this.props;
        if (propB) {
            let result = nameOfFunction();
            return <div>{result}</div>;
        } else {
            return <div>{propA}</div>;
        }
    }
}
To manage state in a component, you use the state property:
class ExampleComponent extends React.Component {
    constructor(props) {
        super(props);

        this.state = {
            nameOfStateProperty: "banana"
        };
    }

    render() {
        let { propA, propB, nameOfFunction } = this.props;
        if (propB) {
            let result = nameOfFunction();
            return <div>{result} - {this.state.nameOfStateProperty}</div>;
        } else {
            return <div>
                <p>{propA}</p>
                <button onClick={(e) => this.setState({nameOfStateProperty: "apple"})}>
                    {this.state.nameOfStateProperty}
                </button>
            </div>;
        }
    }
}
React Native
Other than native-specific bindings, React Native is essentially the same thing as React, except instead of DOM components, you have to use the React Native components - these components are turned into native UI elements on the rendered application.
class Section extends Component {
  render() {
    let {children, title, isDarkMode} = this.props;
    return (
      <View style={styles.sectionContainer}>
        <Text
          style={[
            styles.sectionTitle,
            {
              color: isDarkMode ? Colors.white : Colors.black,
            },
          ]}>
          {title}
        </Text>
        <Text
          style={[
            styles.sectionDescription,
            {
              color: isDarkMode ? Colors.light : Colors.dark,
            },
          ]}>
          {children}
        </Text>
      </View>
    );
  }
}
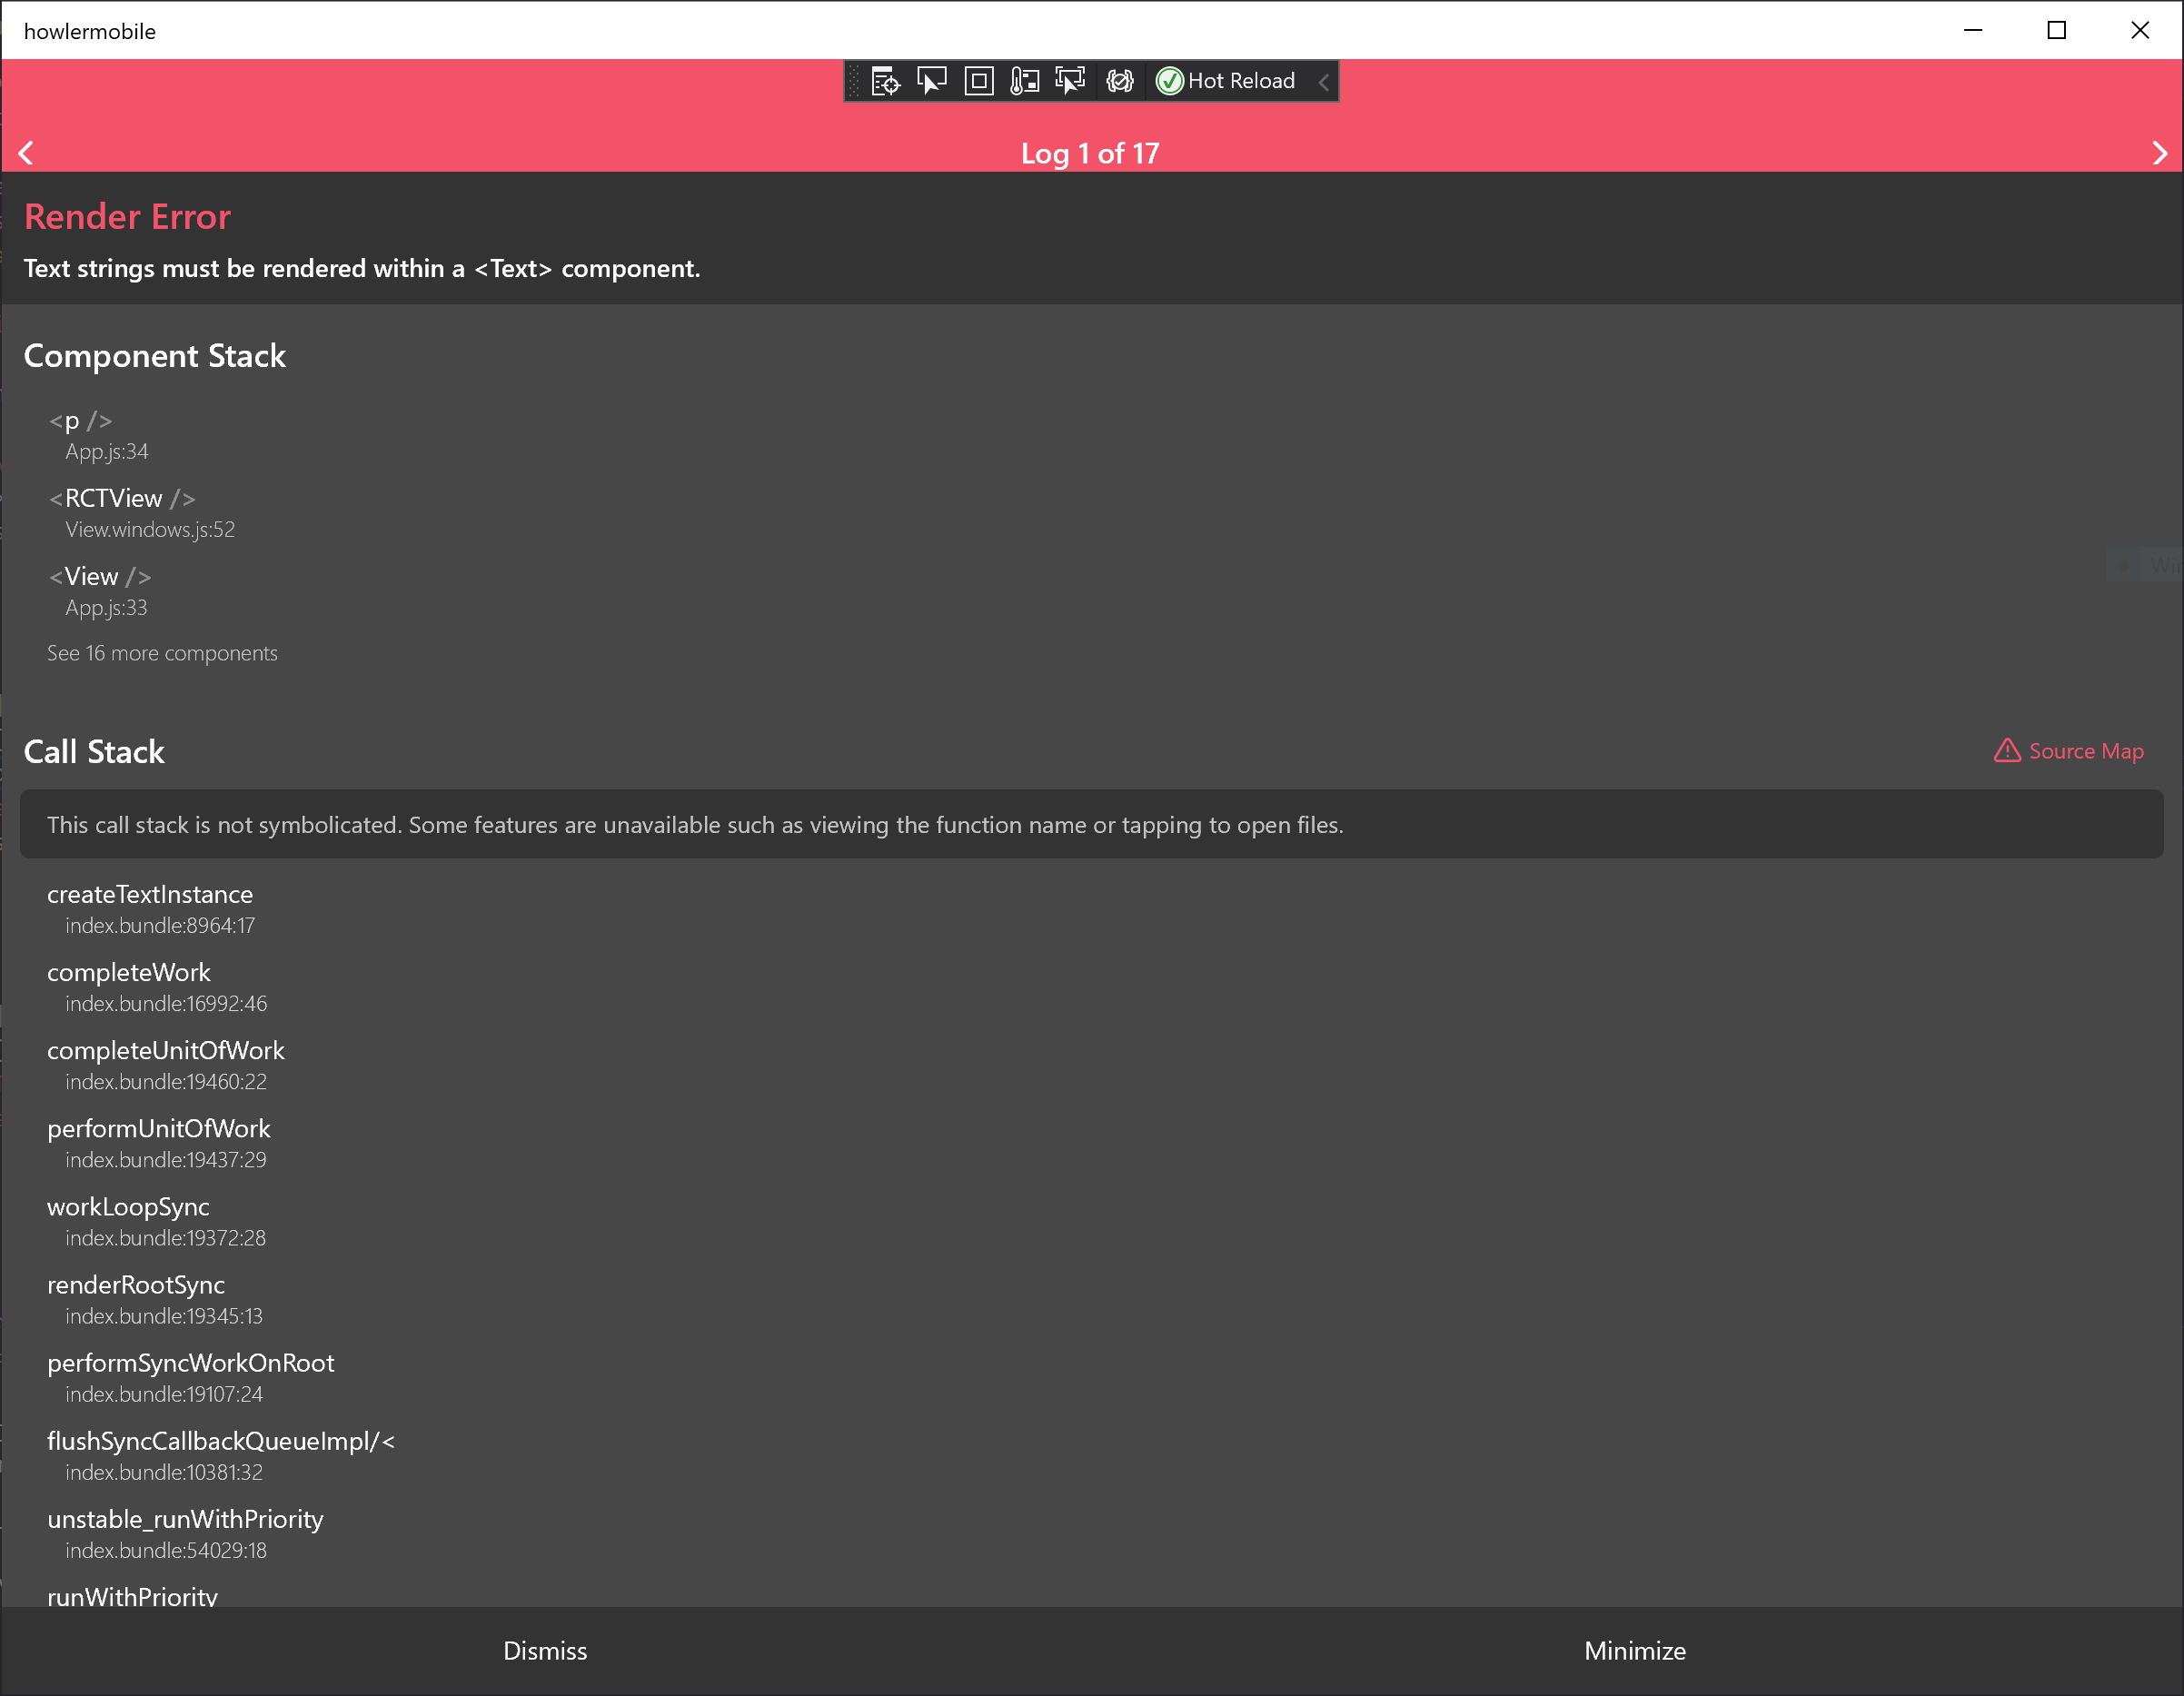
Look familiar? Instead of <div/>s, we’re using <View/>. Instead of <p/> or <span/>, we’re using <Text/>. What happens if you try to use HTML elements instead?
They’re pretty clear about expectations. There are more advanced concepts like React Hooks, state management with Redux and advanced state management boilerplate like Sagas, but these are reserved for a more in-depth session. Happy experimenting!
 Code Wolfpack