 Code Wolfpack
Good evening, Wolfpack! For today’s session we are going to be focusing on React and React Native. Our goal for this session will be to get our web app into a state where it can integrate with our auth server, and get you introduced to React and React Native.
Quick News
Intra-session update! During the time between last session, AWS finally fixed the issues with Cognito’s CloudFront distribution blocking the deploy of custom domains, and so I was able to move from the quite hideously verbose Cognito default auth URL and to our branded subdomain auth.howler.chat.
Ingredients List
For today’s session, you will need to have the following installed (if you participated in previous sessions you should already have these):
For Windows specifically:
For Mac:
Be sure to also clone the latest source of Howler from https://github.com/HowlerChat/Howler using your terminal (on Windows, Git Bash):
git clone git@github.com:HowlerChat/Howler.gitOr if you’ve already cloned it before, just run git pull.
The other thing you’ll need to install is React Native tooling. In a terminal, simply run:
npm install -g react-nativeOne more thing for Windows folks: Getting all the right SDKs and tools installed is an absolute pain to do manually, so the React Native team has created a helpful setup script. Follow the instructions here: https://microsoft.github.io/react-native-windows/docs/rnw-dependencies
Prep-work, Cooking Show Style
The work involved in this session is already complete, so if you want to turn back time to what the repository looked like, you can check out a copy of the code from that time:
git checkout -b session-7-start 1ce0595565513df7481580f8ec23ca77aa54efd7Pre-heating The Oven
Let’s make sure you can build and run both the web app server and the React Native apps.
React
Starting from the project root, we’re going to do a little spring cleaning and use the Howler.WebsocketTest project as our base for the React app, so let’s rename it:
mv Howler.WebsocketTest Howler.App
mv Howler.App/Howler.WebsocketTest.csproj Howler.App/Howler.App.csproj
Be sure to also rename all instances of Howler.WebsocketTest in the Howler.sln file and all the namespaces in the Howler.WebsocketTest/ folder.
Change directories to the Howler.App/ClientApp folder, install all node packages, then move back up a directory and start the web server:
cd Howler.App/ClientApp
npm install
cd ..
dotnet run
Visit the url indicated by the console (accept the certificate warning if present), and you should be greeted by a familiar sight of our old Websocket test page:
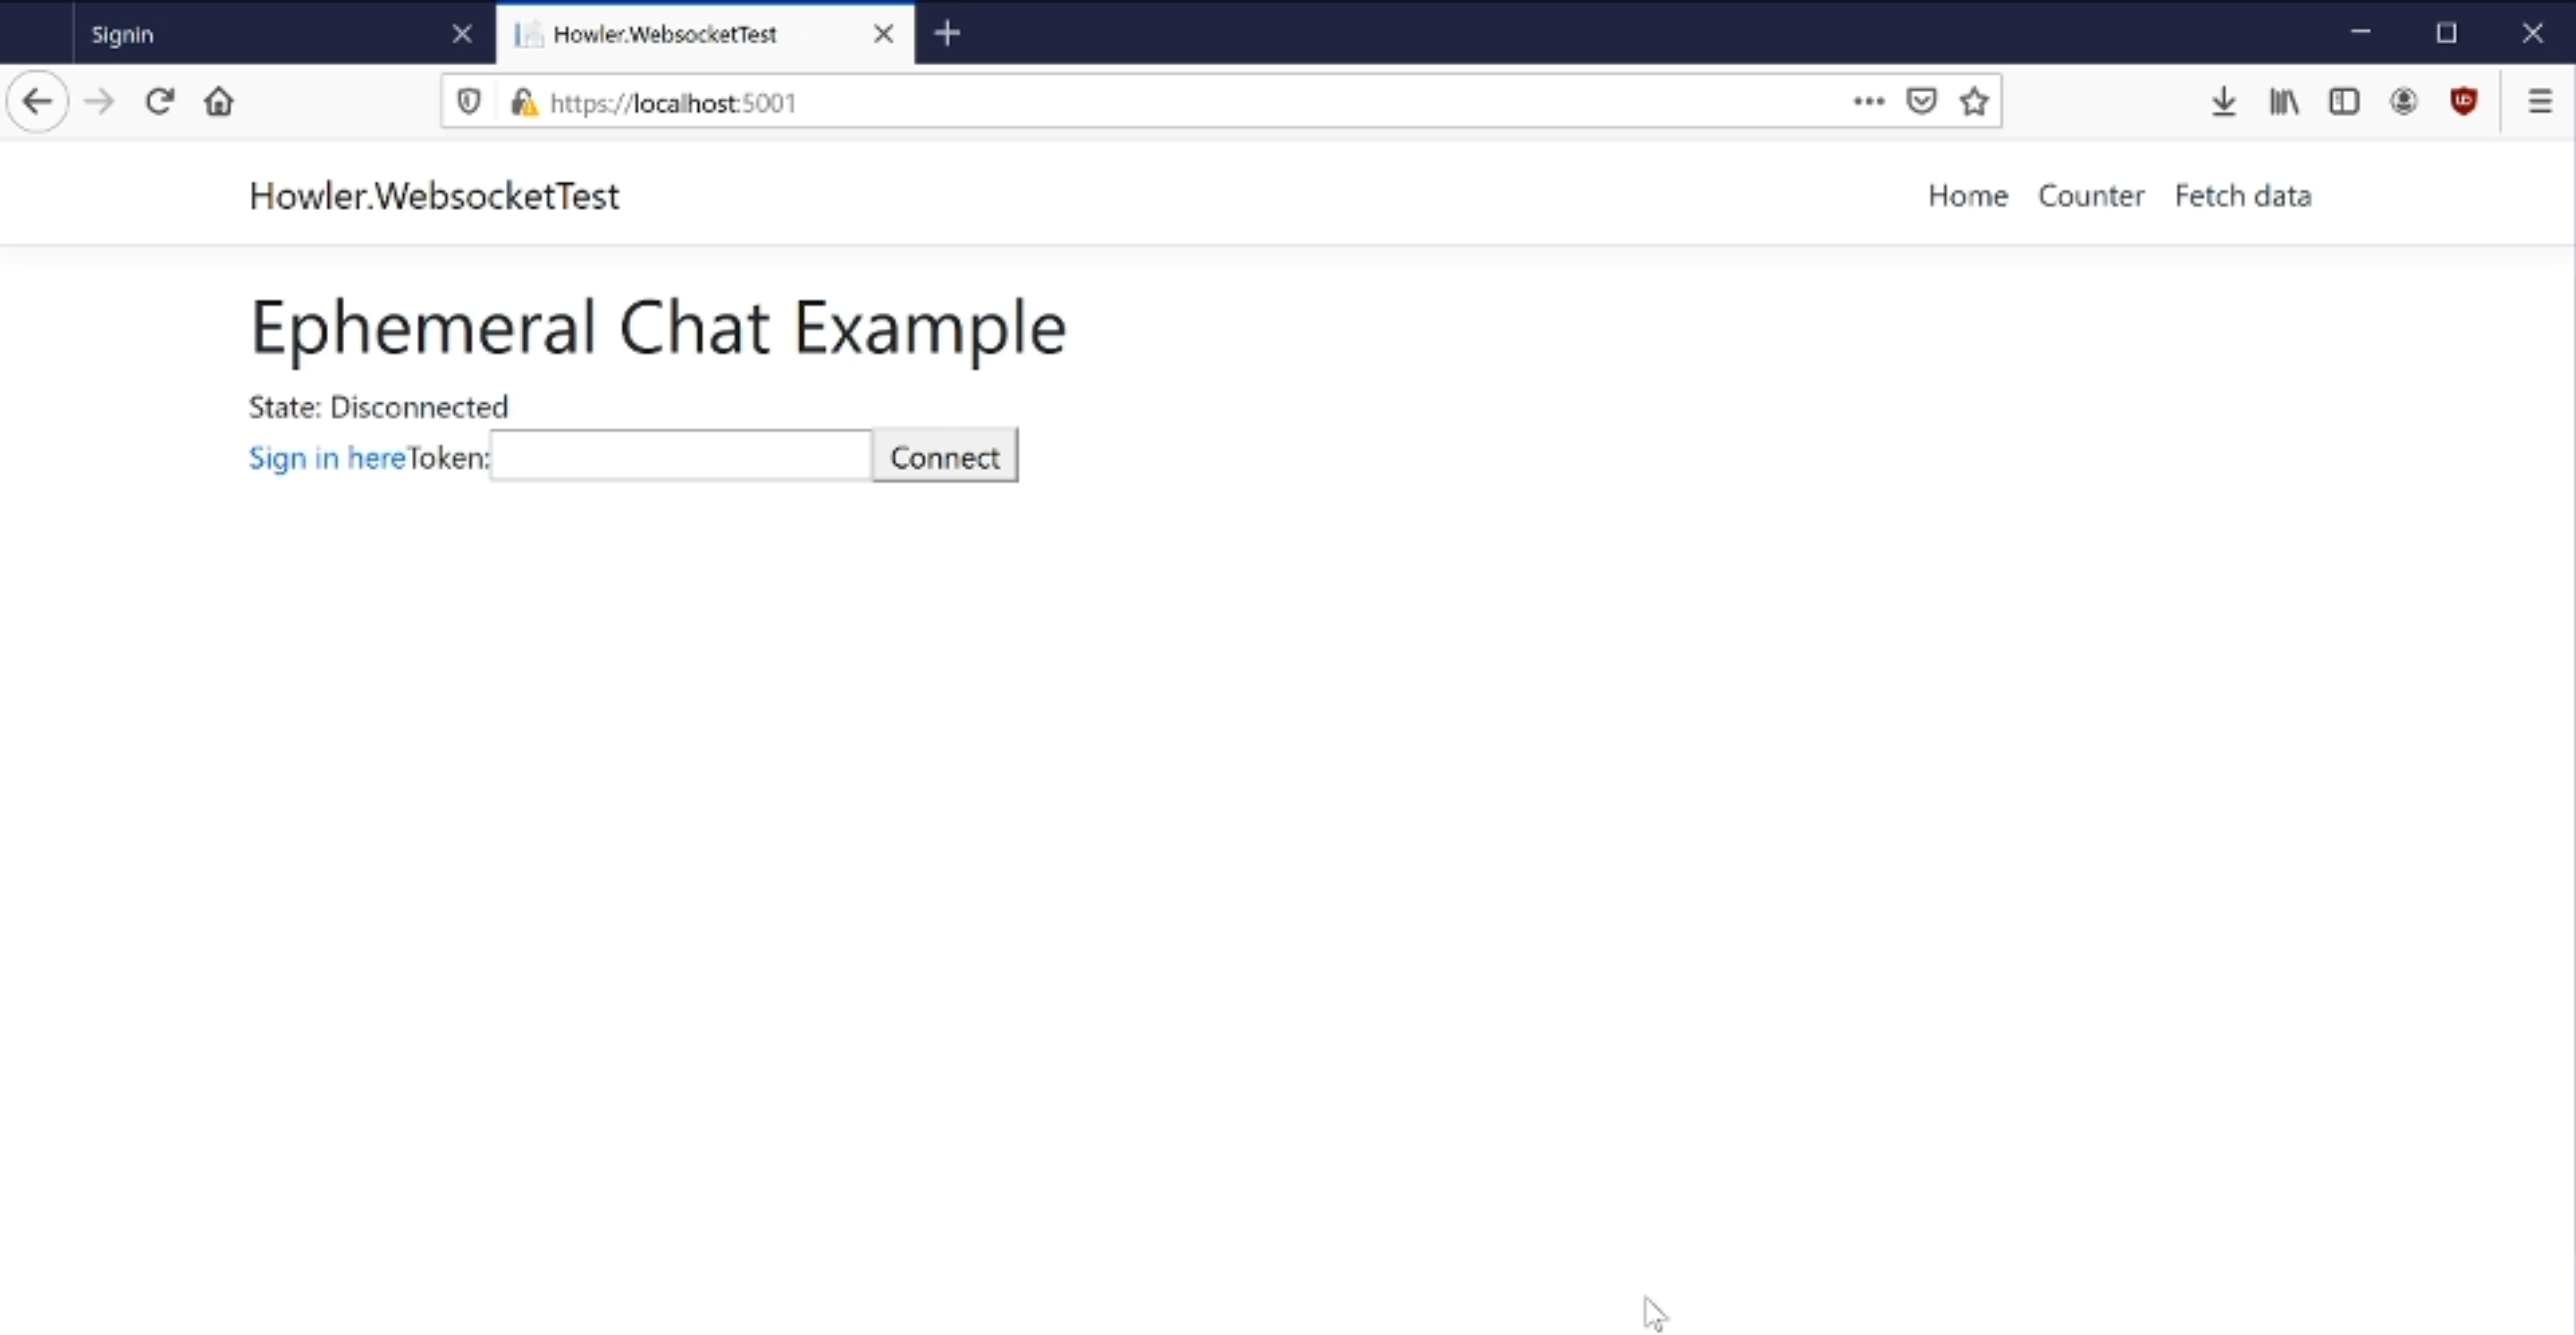
Great, the React app is now running. Next up, React Native
React Native
Move to the HowlerMobile folder, install all node packages, and start the Metro server (this is required in order to run the React Native apps):
cd ../HowlerMobile
npm install
npx react-native start
You should be presented with a tidy little ASCII graphic when this is done:

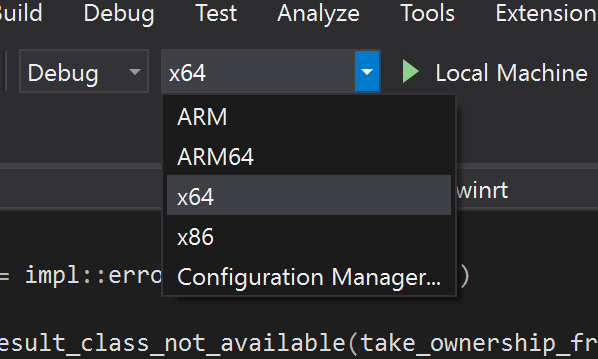
Depending on your target for React Native (Android, iOS, Universal Windows Platform), you will need to run the relevant command or tool. In this session, we demonstrate the Windows app, by opening HowlerMobile/windows/howlermobile.sln
Choose the relevant platform (probably will be x64), and hit Local Machine.
After some churning and burning, you should finally see your React Native app start:
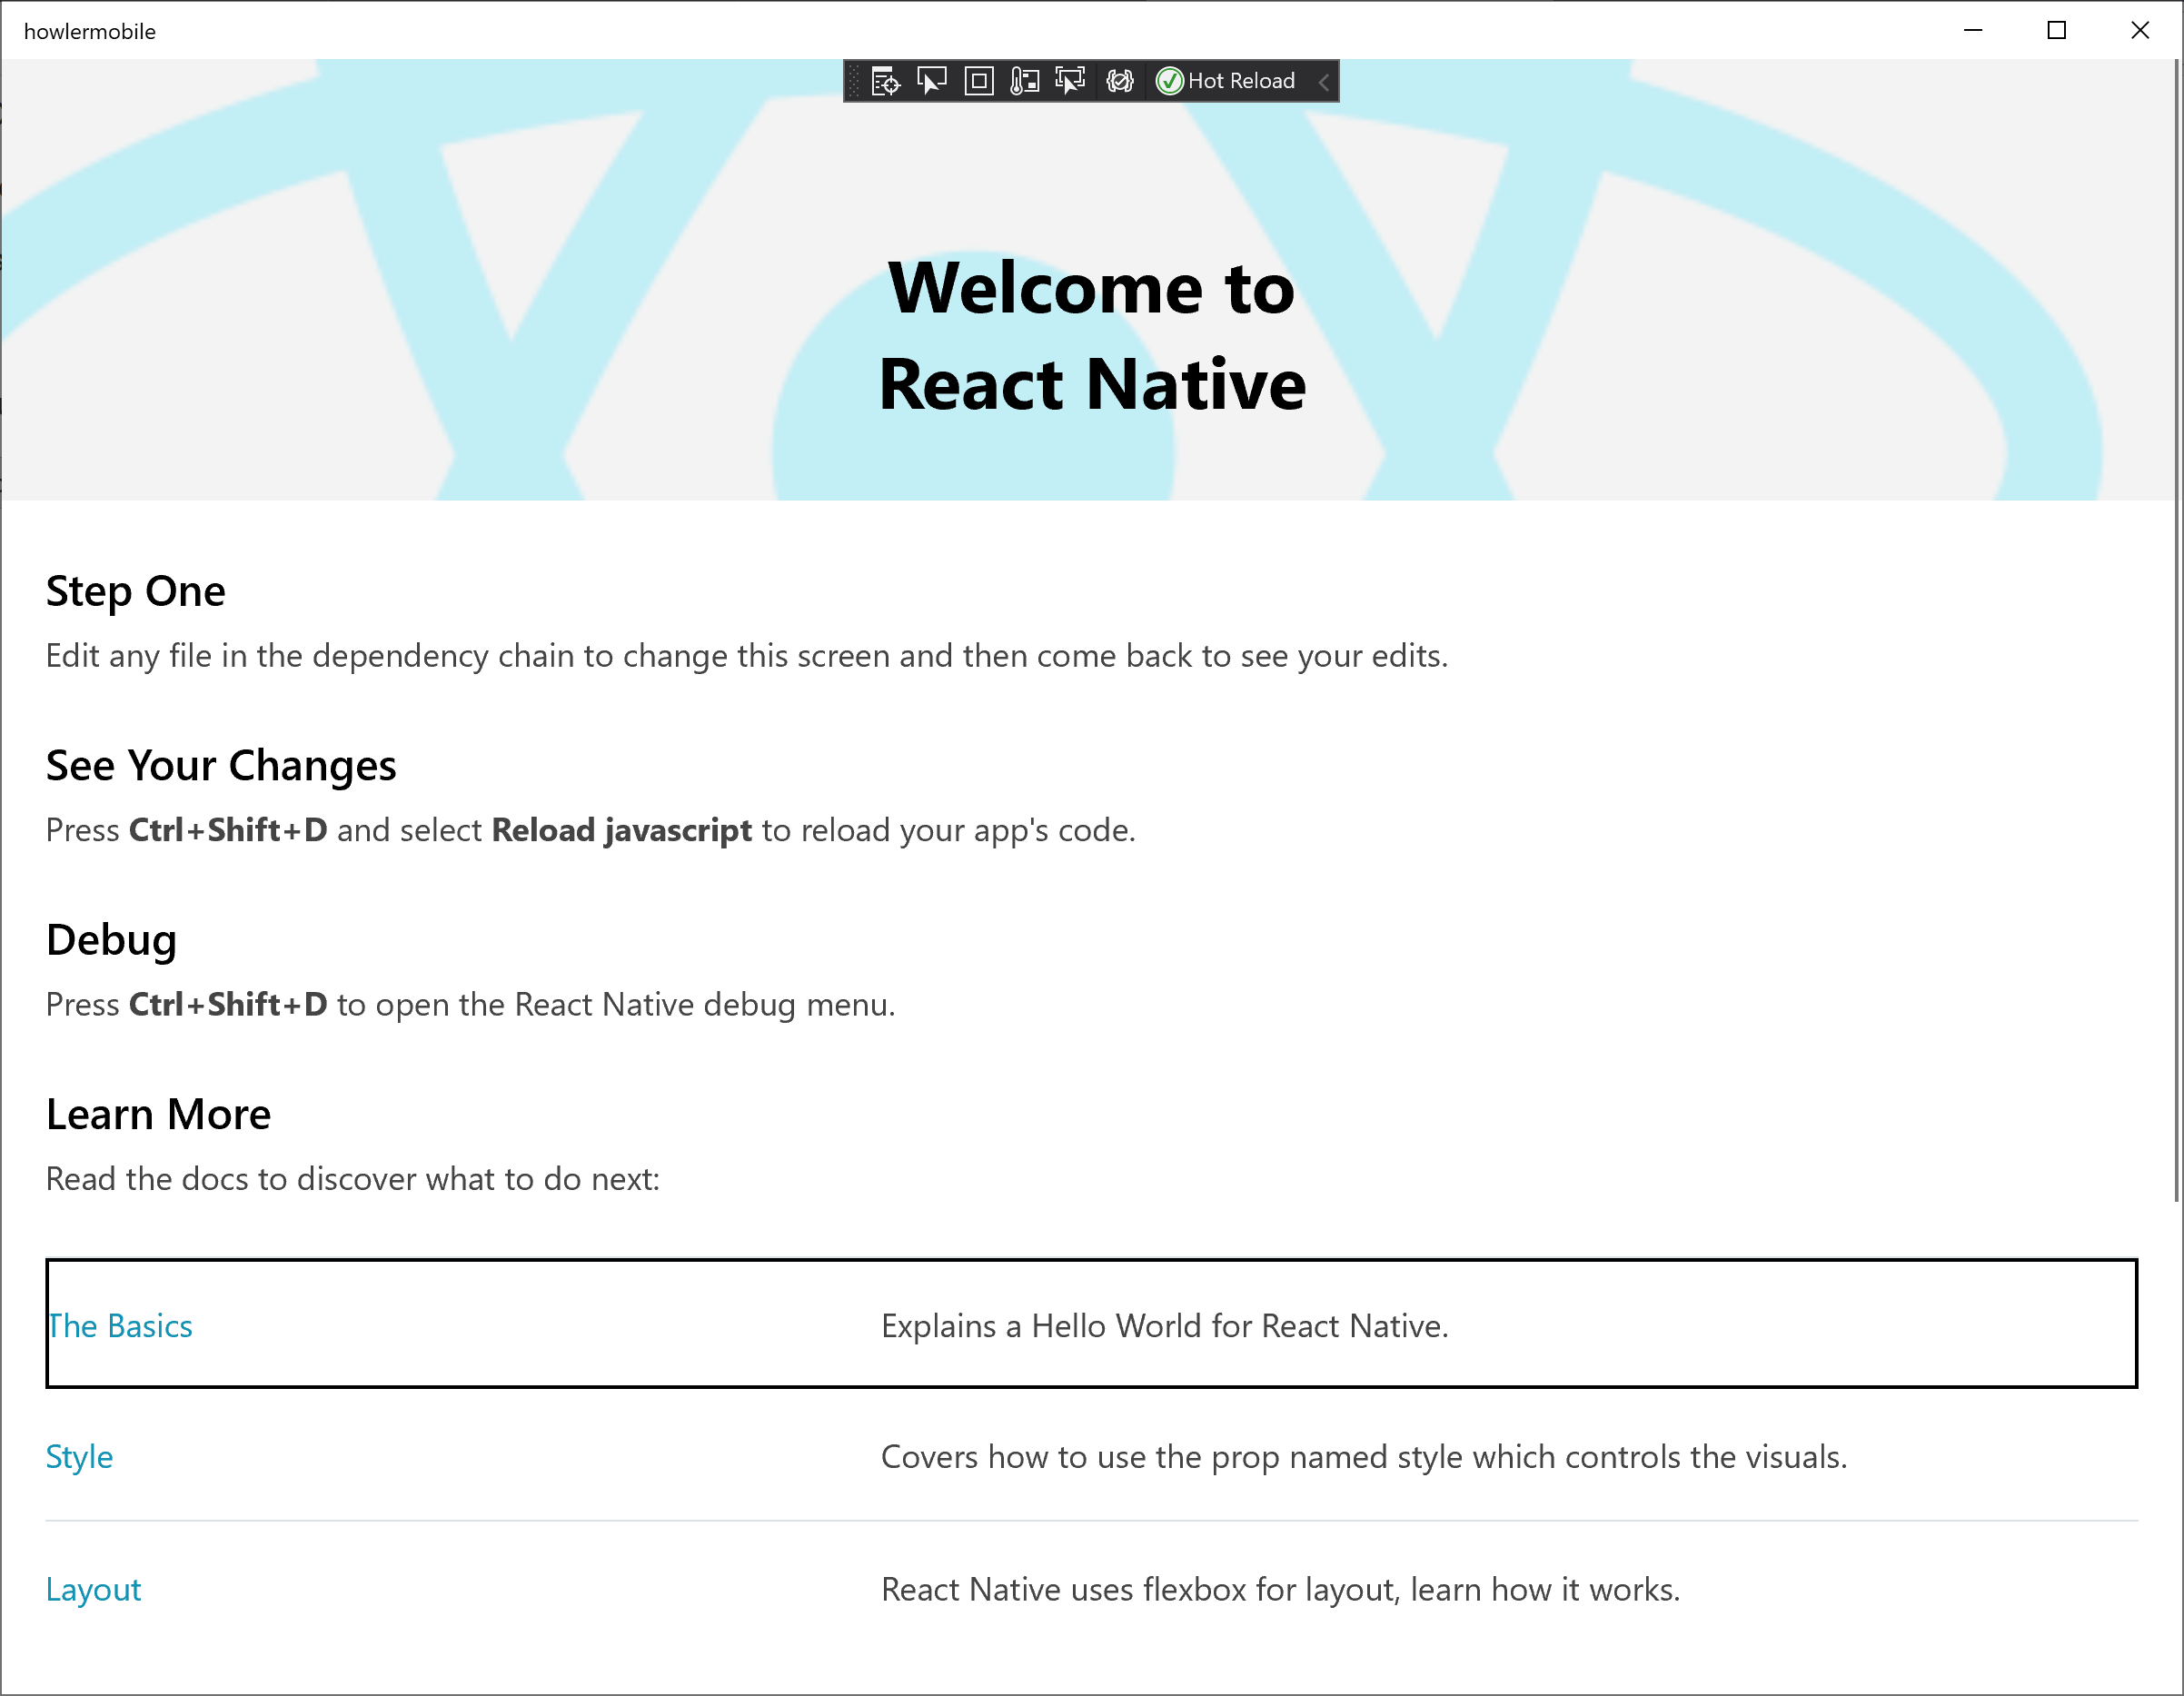
Perfect! In the next post we will move on to the finer details of differences in Part 2: React vs React Native

Cassie Heart is the creator of Code Wolfpack, BDFL of Howler, The Bit with a Byte, Resident Insomniac.